This is the second part of a series of posts where we cover extensibility in the new product editor. If you haven’t already, please check out the first post, Getting to Know Woo: Extensibility in the New Product Editor, where we already covered extensibility for basic scenarios.
We aim to provide developers with an easy way to extend the product editor with simple fields through the use of our generic blocks, but we’re fully aware that we won’t be able to cover everything that our rich ecosystem of extensions aims to provide. For the types of scenarios where a more complex type of interactivity is needed, we support creating custom blocks. By leveraging the JavaScript and React ecosystems with help from the WordPress and Woo core libraries, we can create custom solutions within the product editor.
What are we building today?
Our goal is to create two blocks that enforce minimum and maximum quantity on text inputs. For this tutorial, we will call them the Minimum Quantity and Maximum Quantity blocks. They depend on one another: The input of the Minimum Quantity block cannot be higher than the input of the Maximum Quantity block, and the input of the Maximum Quantity block cannot be lower than the input of the Minimum Quantity block. We also want to add helpful error messages when the merchant types something wrong.
Here’s how the end result should behave:
This post only covers the code changes to the product editor and is by no means a complete solution. It doesn’t cover any of the changes to the frontend to limit quantities purchased or any changes to the REST API to enforce this.
Get started by following along below, or jump down to our video tutorial.
Prerequisites
- A development environment with a blank WP installation (e.g., Local by Flywheel)
- WooCommerce (8.5 or above) plugin installed and activated
- Basic knowledge of JavaScript and React (Checkout the Quick Start – React guide)
- IDE/Code editor (e.g., Visual Studio Code)
- Node or NVM (Node Version Manager) installed, running Node 16+
Environment Setup
- In your terminal, navigate to the
wp-content/pluginsfolder of your WordPress development environment - Run the following command to create a new block project called
min-max-tutorial:
npx @wordpress/create-block --template @woocommerce/create-product-editor-block min-max-tutorialThis command uses the @wordpress/create-block tool with a template published on the @woocommerce/create-product-editor-block package to scaffold a WordPress plugin that creates and registers a custom block for the product editor and also adds it to the template.
Run the following command from wp-content/plugins/min-max-tutorial to watch for future changes in the code and compile them automatically:
npm run startThe extension should already be visible in Plugins > Installed Plugins. Go ahead and Activate it.

Make sure you have the new product editor enabled by going to WooCommerce > Settings > Advanced > Features and enable Try the new product editor (Beta).
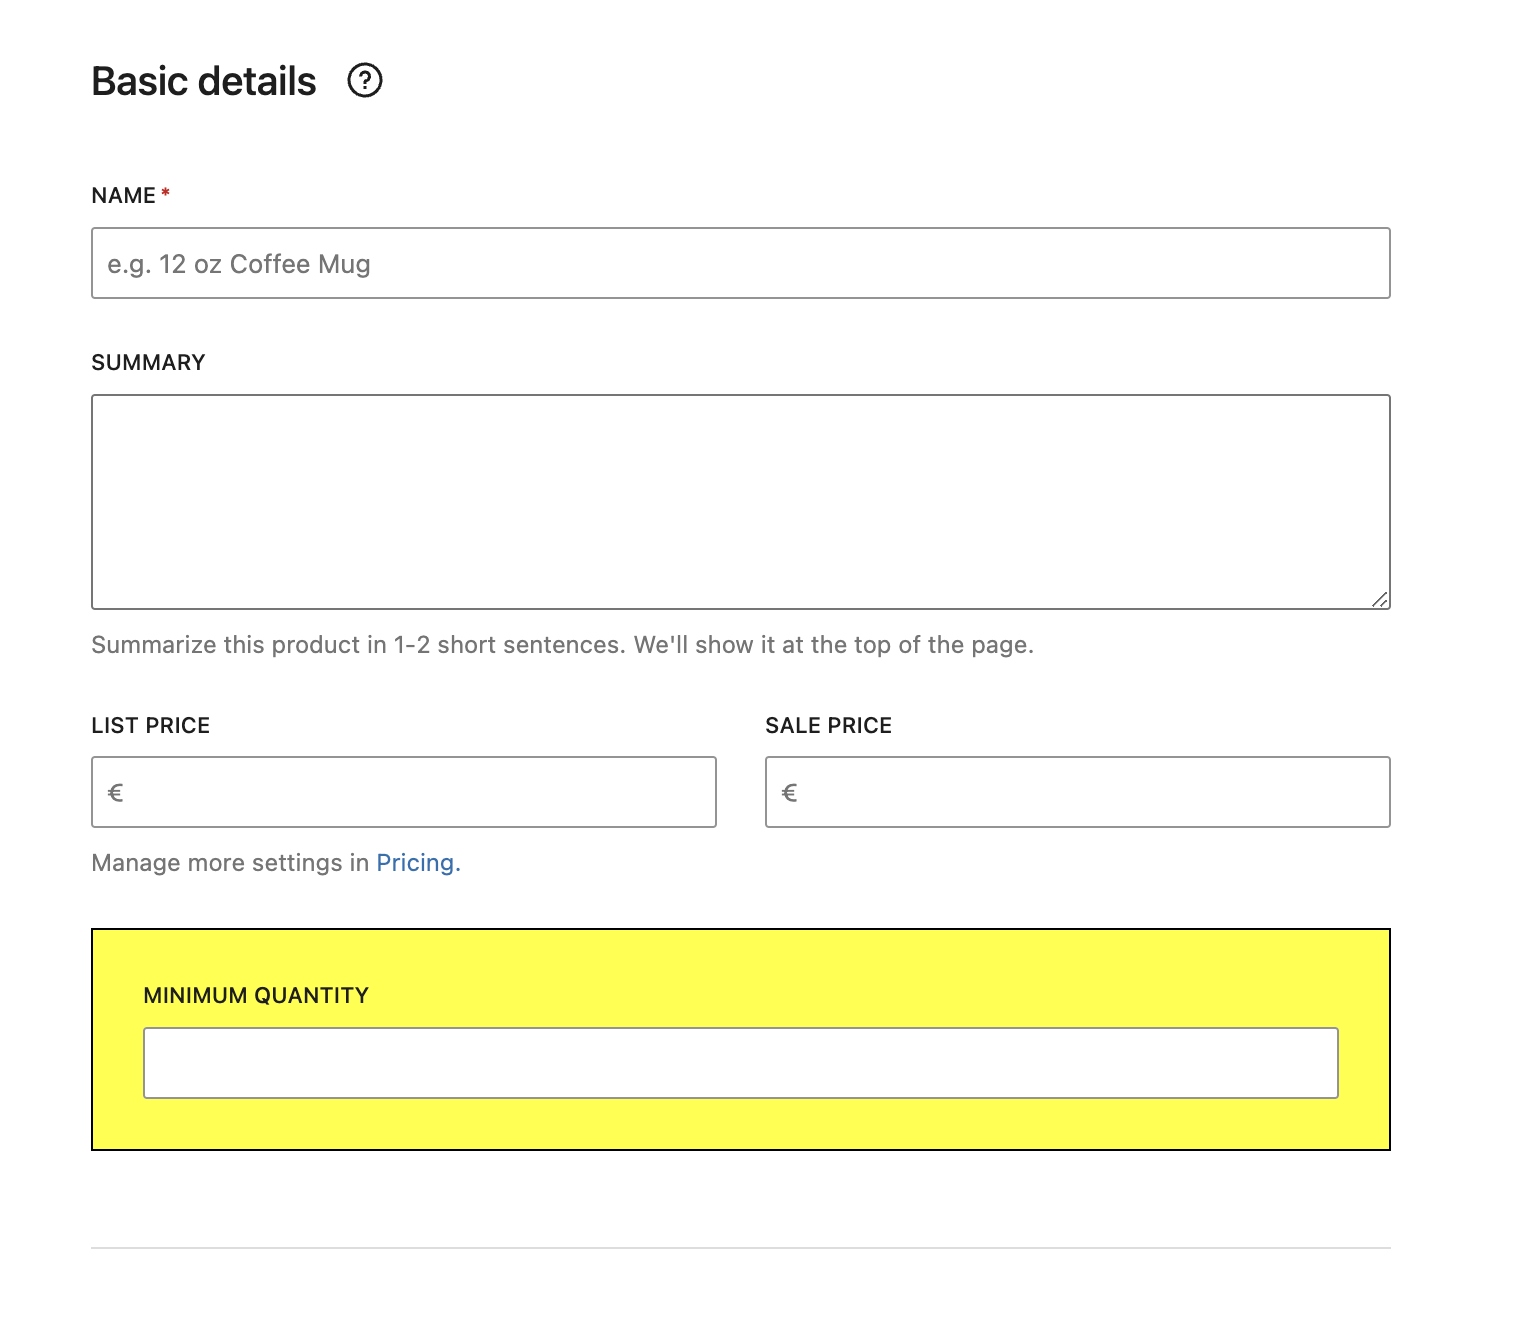
Next, go to Products > Add New to try out the new editor.
You should see a yellow block on the Basic Details section of the form.

Move the block to a separate folder
Since we’re going to create another block in the next steps, it’s best to move all the current block’s files to a separate folder. Create a new folder called min-quantity inside wp-content/plugins/min-max-tutorial/src and move all files (block.json, edit.tsx, editor.scss, and index.ts) to it. Rename the block.json property "name" to "extension/min-quantity-block", and the title to “Min Quantity Block”.
You will need to import the BlockRegistry class and also update the register_block_type_from_metadata call inside the min_max_tutorial_min_max_tutorial_block_init function on the root PHP file (wp-content/plugins/min-max-tutorial/min-max-tutorial.php), since the path the to the block location has changed:
use Automattic\WooCommerce\Admin\Features\ProductBlockEditor\BlockRegistry;

BlockRegistry::get_instance()->register_block_type_from_metadata( __DIR__ . '/build/min-quantity' );Next, update the blockName property:
$basic_details->add_block(
  (...)
  'blockName'  => 'extension/min-quantity-block',
  (...)
);Refresh the product editor page to make sure it’s still working.
Implement Minimum Quantity
There are several components and hooks that can help with building custom blocks in @woocommerce/product-editor. We have a component to use for numbers, called __experimentalNumberControl. Since we also want to persist that information on the product, we can use the __experimentalUseProductEntityProp hook for that. Add the following lines to your external dependencies in the wp-content/plugins/min-max-tutorial/min-quantity/edit.tsx file. Your Edit function should look like this:
/**
 *  📝We prefix modules with __experimental when they are still at an early
 *  stage of development and subject to breaking changes.
 *
 */
import {
 __experimentalNumberControl as NumberControl,
 __experimentalUseProductEntityProp as useProductEntityProp,
} from '@woocommerce/product-editor';

/**
  *  📝We will need __ since we want to be able to support translations
 *  in our labels
 */
import { __, sprintf } from '@wordpress/i18n';

export function Edit({ attributes }: { attributes: BlockAttributes }) {
 const blockProps = useWooBlockProps(attributes);
/**
 *  📝 Note that by passing the "meta_data." prefix to the useProductEntityProp
 *  parameter, we can automatically persist fields in the postmeta table.
 *
 */
 const [value, setValue] = useProductEntityProp<string>('meta_data.min_qty');


/**
  * It is important to pass the blockProps to the root div: that way, the div
  * will contain all props that are required to identify it as
  *  a block, and also CSS classes.
  *
  */
   return (
     <div {...blockProps}>
       <NumberControl
         label={__('Minimum Quantity', 'min-max-tutorial')}
	  value={value || ''}
	  onChange={setValue}
	/>
     </div>
   );
}Here’s the result:
Implement Maximum Quantity
Let’s also add another custom block called “Maximum Quantity”. Duplicate the "min-quantity" folder and rename it to "max-quantity". In the new folder, rename the block.json property "name" to "extension/max-quantity-block", and the title to Max Quantity Block.
Make sure to change the string passed to the useProductEntityProp in the edit.tsx file since it’s a different field:
const [value, setValue] = useProductEntityProp<string>('meta_data.max_qty');At the plugin root PHP file (wp-content/plugins/min-max-tutorial/min-max-tutorial.php), add the following line below the existing register_block_type_from_metadata:
BlockRegistry::get_instance()->register_block_type_from_metadata( __DIR__ . '/build/max-quantity' );Next, add the following line below the existing $basic_details->add_block call in order to display the Max Quantity block after the Min Quantity block:
This will make sure the new block is properly positioned below the previous block:
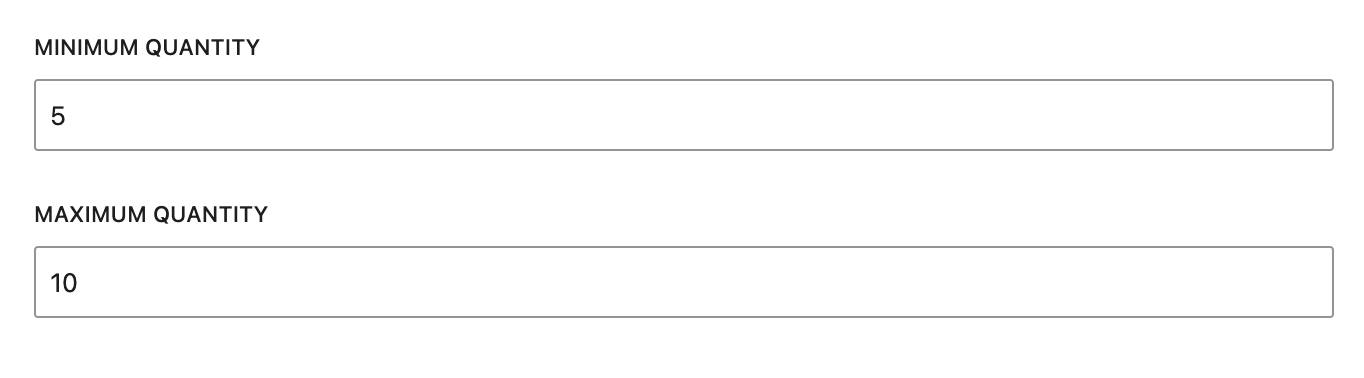
Benefits of having each field as separate blocks
Even though it’s possible to add both fields as a single block, there are some benefits of having them as separate blocks:
- It’s possible to change their positions separately by using the Template API
- They can be arranged as individual columns, using the core/columns and core/column blocks
- The default margins between blocks are used and will automatically account if there are future changes to the design
Adding validations
Now all that is left is to add the validations. We have a hook called useValidation that helps you do just that. It helps centralize all the validations and do things like blocking the whole form from saving when there are errors, showing error messages, and highlighting fields with errors.
Import the useValidation hook from @woocommerce/product-editor to the max-quantity block edit.tsx file (wp-content/plugins/min-max-tutorial/src/max-quantity/edit.tsx). You will also need to import React’s useEffect.
//wp-content/plugins/min-max-tutorial/src/max-quantity/edit.tsx
//Add the following lines to your max - quantity block edit.tsx file, inside the Edit function:

import { useValidation } from '@woocommerce/product-editor';
import { useEffect } from "react";

const[minQty] = useProductEntityProp<string>('meta_data.min_qty');

const { error, validate } = useValidation(
  'meta_data.max_qty',

  async function validator() {

    const valueParsed = parseFloat(value || '');
    const minQtyParsed = parseFloat(minQty || '');

    if (valueParsed < minQtyParsed) {
      return sprintf(
        __(
          // translators: %d is the minimum value of the number input.
          'Value must be greater than or equal to %d',
          'my-extension-name'
        ),
        minQtyParsed
      );
    }

  },

  [value, minQty]

);The second parameter passed to the hook is a function that performs the validation. When an error occurs, the function should return an error message. The hook returns an error message, if there’s an error, and a validate function, which should be called whenever a validation needs to happen. We want it to happen when value and minQty changes, so let’s add this useEffect call:
useEffect(() => {

  validate();
}, [value, minQty]);

//Last but not least, let's pass the "possible" error message to NumberControl, so it can react accordingly:

<NumberControl
  label={ __('Maximum Quantity', 'my-extension-name') }
  error = { error }
  value = { value || ''}
  onChange = { setValue }
/>It should be working now! Any time you change both Minimum Quantity and Maximum Quantity to something invalid, it should react immediately:

This covers all the new concepts for this post! We can now expand this to its counterpart field, Minimum Quantity. The validations look pretty similar. Here’s the code for the Minimum Quantity block:
//wp-content/plugins/min-max-tutorial/src/min-quantity/edit.tsx

const [maxQty] = useProductEntityProp<string>('meta_data.max_qty');

const { error, validate } = useValidation(
    'meta_data.min_qty',

    async function validator() {
        const valueParsed = parseFloat(value || '');
        const maxQtyParsed = parseFloat(maxQty || '');
        if (valueParsed >= maxQtyParsed) {
            return sprintf(
                // translators: %d is the maximum value of the number input.
                __(
                    'Value must be less than %d',
                    'my-extension-name'
                ),
                maxQtyParsed
            );
        }
    },

    [value, maxQty]
);Check out the code
We’ve created a repository with the end result’s code, in case you got lost along the way or just want to check it out.
🎥 Video Tutorial
Prefer to follow along on screen? Check out the video tutorial below:
Let us know what you think
Are there things you love about extending the new product editor? Share your thoughts with us in our discussion forum and Slack:
- GitHub Discussions under the WooCommerce Product Block Editor category
- WooCommerce Community Slack in the #woocommerce-product-editor-extensibility channel
Where to find more information
We are actively working on providing documentation for new product editor development:
Leave a Reply